That price label on a new mirror, the stubborn decal on a windshield, the gummy ring left on a glass jar – all look small until they collect dust and refuse to wipe away. The good news is that you can remove sticker residue from glass without turning your kitchen, vehicle, or workspace into a cloud of harsh solvent fumes. The trick is to soften the adhesive first, then lift it patiently with the right tool.
Glass is durable, but it is not invincible. Decorative coatings, window tint, old glass, painted frames, and heated rear windows all need a little more care than a plain mason jar. Start gently, use only as much product and pressure as the job needs, and you will get a clean, clear finish instead of a scratched or smeared one.
Why sticker residue clings so hard
Most labels use pressure-sensitive adhesive. It is designed to grip a surface with a light touch, stay put through moisture and handling, and leave little evidence while the label is intact. Once the paper label tears away, that adhesive is exposed. Dust sticks to it, heat can make it tackier, and time can make it feel almost baked onto the glass.
A quick spray of ordinary glass cleaner may remove surface grime, but it usually will not dissolve the adhesive. Scrubbing harder is tempting, yet it often spreads the glue into a wider, cloudy patch. A better approach is to match the method to the residue and the glass item in front of you.
How to remove sticker residue from glass, step by step
Start by lifting the label
If any paper or vinyl label remains, soak a cloth in warm water and hold it against the label for a few minutes. On a jar or drinking glass, a warm-water soak in the sink works well. The goal is to loosen the paper fibres so you are not scraping dry material across the surface.
Lift a corner with your fingernail, a plastic card, or a plastic scraper. Pull slowly and keep the label low against the glass rather than pulling it straight outward. This reduces tearing and often brings more adhesive away with the label.
Do not use a metal blade at this stage. A blade can be useful on certain plain glass surfaces, but it is not the first answer for every job.
Soften the adhesive, not the whole room
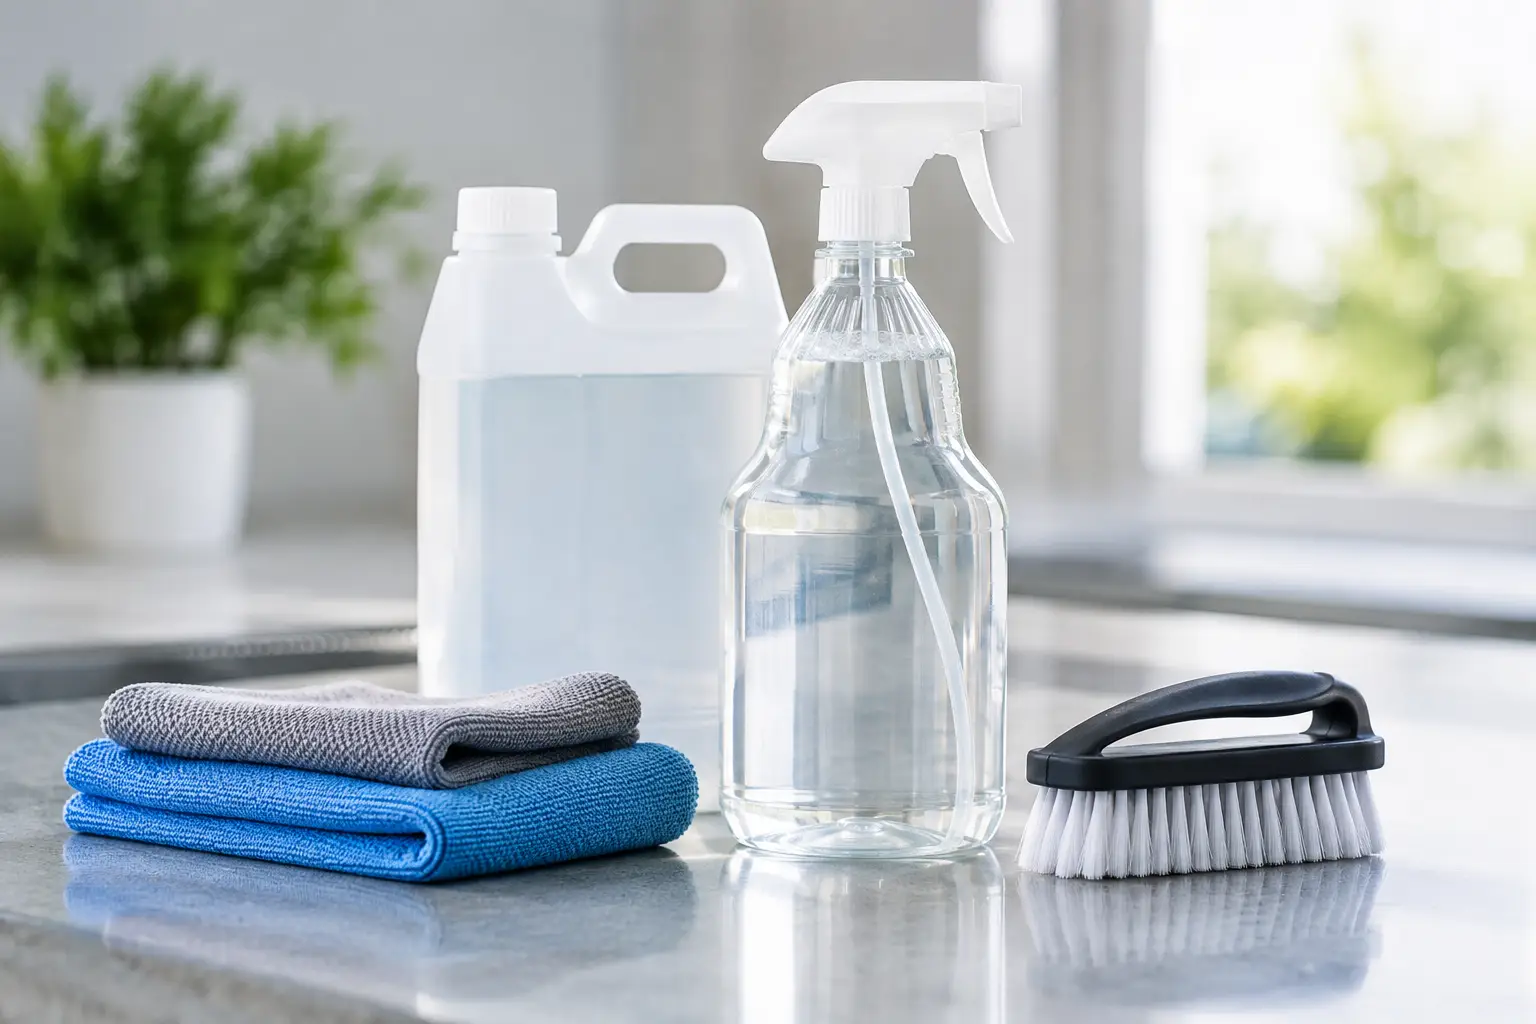
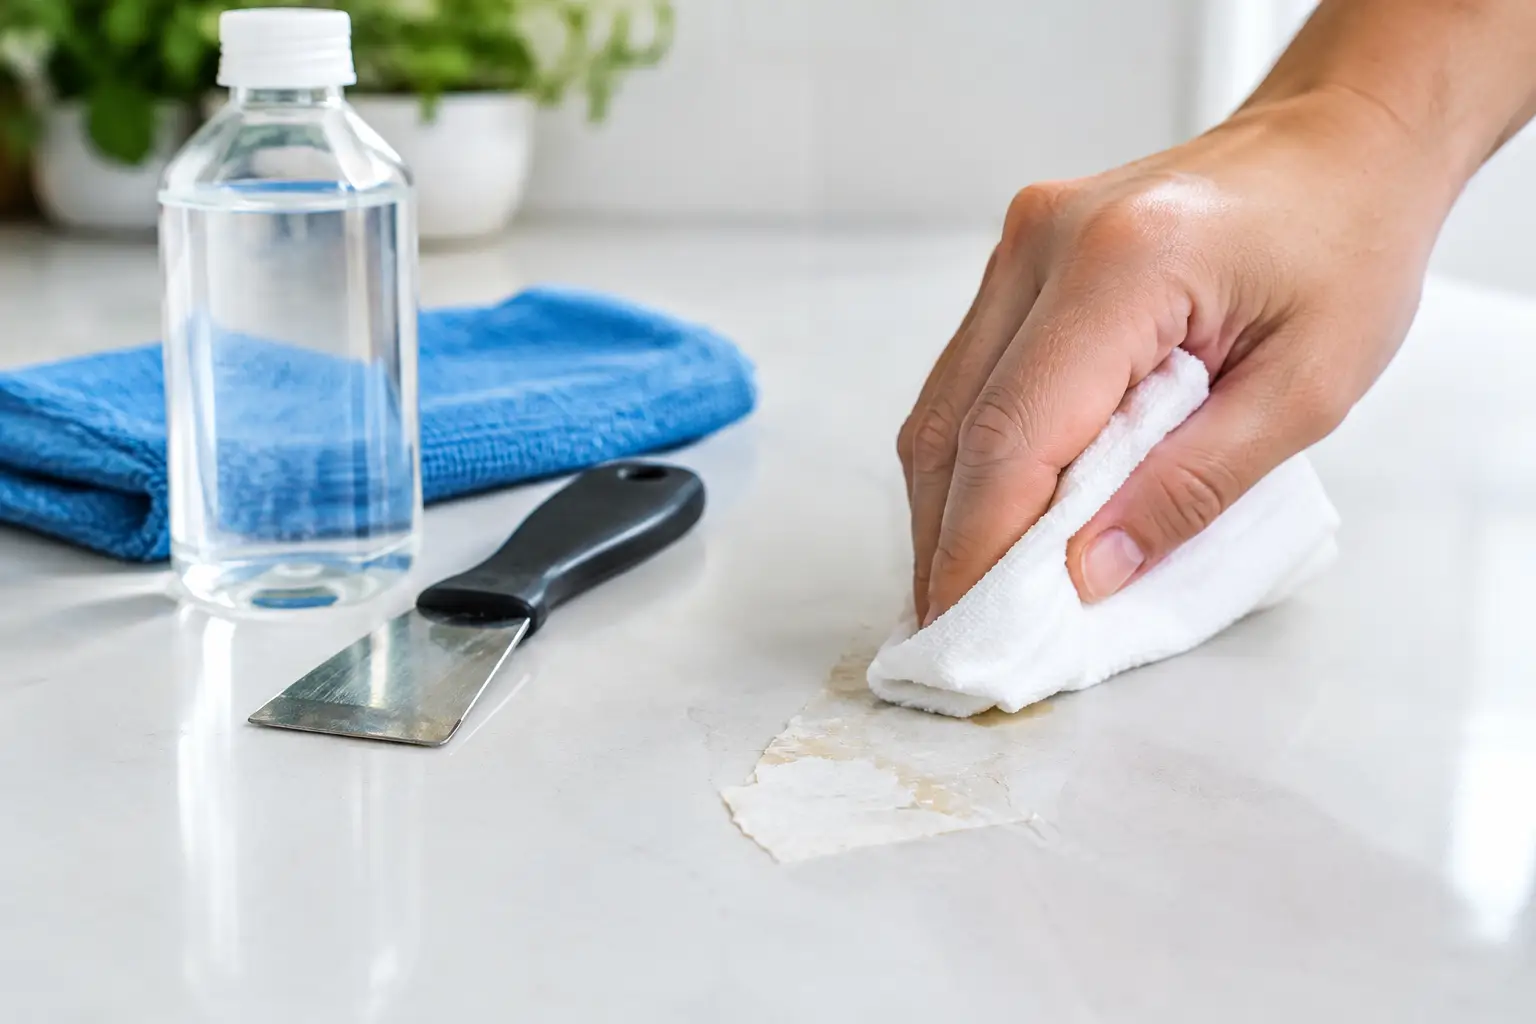
For a small sticky patch, apply a purpose-made adhesive remover to a soft cloth, then hold the cloth on the residue for a minute or two. Letting the product work is what saves elbow grease. Rub gently in small circles, then wipe the loosened adhesive away with a clean part of the cloth.
For everyday labels on jars, a little cooking oil can also soften the glue. Rub it on, wait several minutes, and wipe. Follow with warm water and dish soap to remove the oily film. This is a handy household fix, although it can be messy and may need more than one application on old or heavy residue.
Rubbing alcohol can work on plain, uncoated glass, particularly for a thin leftover film. Apply it to a cloth rather than pouring it directly onto the item. Keep it away from painted trim, rubber seals, window tint, and unknown coatings until you have tested a hidden area.
For adhesive jobs that need a more decisive answer, BCM Biodegradable Solutions’ Tack Attack is made to tackle glue and adhesive residue without relying on the aggressive petroleum-style solvents many people would rather keep out of the home, vehicle, or workplace. As with any cleaner, test a small inconspicuous spot first when the glass has a coating, tint, print, or surrounding finish.
Wipe clean and finish the glass
Once the residue is gone, wash the area with warm water and a small amount of dish soap. This removes the last traces of remover, oil, or loosened glue. Dry with a lint-free cloth or a clean microfiber towel.
If the glass still looks hazy, the problem is often residue from the cleaning product rather than adhesive. A final wipe with glass cleaner or a damp microfiber cloth followed by a dry one usually restores the shine. Use a fresh cloth for the final pass – a cloth carrying dissolved glue can redeposit it in streaks.
Choose the method by the item
A glass jar is the easiest place to be bold. It can usually tolerate a warm soak, a plastic scraper, and a thorough wash afterward. Remove every trace of adhesive before reusing the jar for food storage, and rinse it well.
Windows and mirrors call for a lighter hand. Check whether the glass has a film, tint, special coating, or printed edge. Avoid flooding the edges of a framed mirror or window, where liquid can work its way behind the glass or into the frame. Apply product to a cloth, not directly overhead or along the edges.
Vehicle glass needs its own caution. Exterior windshield decals can often be softened and lifted safely, but do not scrape over heated rear-window defroster lines. Do not use harsh solvents on tinted windows, either, because they can damage the tint adhesive or leave a dull patch. Work in the shade if possible: hot glass makes products evaporate faster and can make the adhesive more difficult to control.
Glass tabletops, display cases, and appliance doors may have printed graphics, protective films, or coated borders. Treat those areas as delicate until you know otherwise. A test spot takes less than a minute and can prevent an expensive mistake.
When a scraper helps – and when it does not
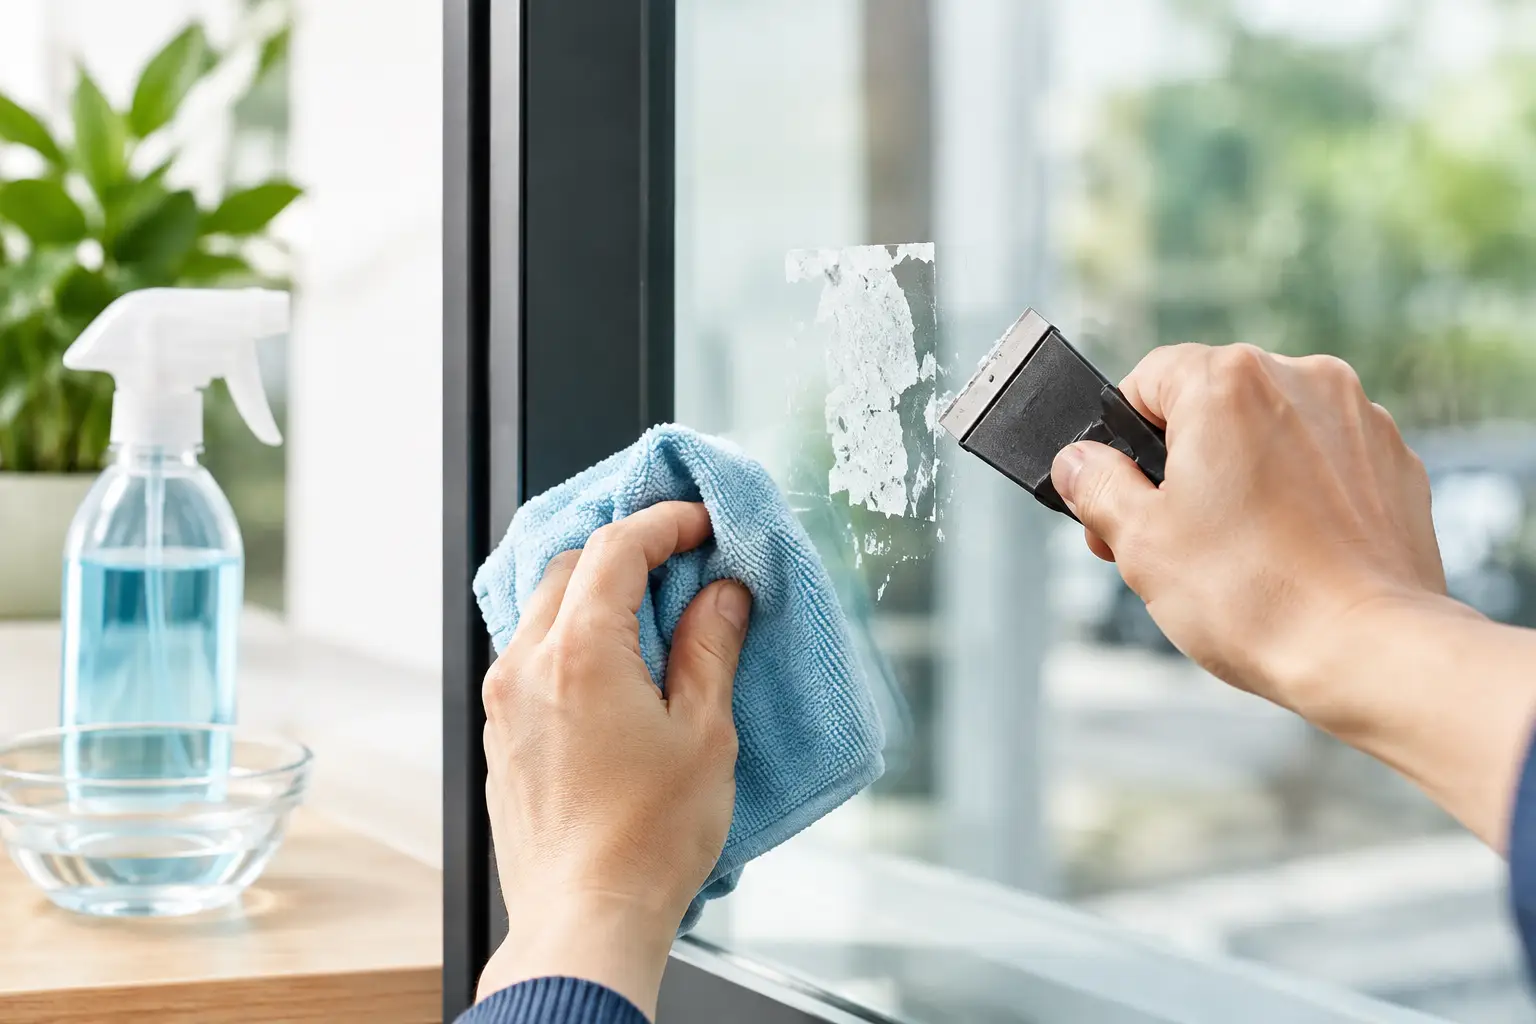
A new single-edge razor blade can remove stubborn residue from plain, uncoated glass, especially on a flat windowpane. It should be a last mechanical step after the adhesive has been softened, not a way to attack a dry sticker.
Keep the blade very flat to the surface, use light pressure, and move in one direction. Never use the corner of the blade to dig at a spot. A dull, rusty, or nicked blade is far more likely to scratch.
Skip the blade entirely on tinted glass, coated glass, mirrors with vulnerable edges, glass with printed designs, and any surface you cannot confidently identify. Plastic scrapers and patience are the safer choice there. Avoid steel wool and abrasive scouring pads on all glass. They may look effective at first, but fine scratches become obvious in sunlight and are not easily reversed.
Common mistakes that make the job harder
The first is reaching for the strongest-smelling product in the cupboard. Strong fumes are not proof of better performance. They can make a simple cleanup unpleasant indoors, especially around children, pets, food-prep areas, or small bathrooms.
The second is mixing cleaners. Never combine products in hopes of creating a stronger solution. Use one method, wipe it away, and wash the surface before trying another. This is safer for you and makes it easier to see what is actually working.
The third is rushing the dwell time. Adhesive removers, oils, and alcohol need a brief chance to penetrate the glue. Two quiet minutes of waiting can replace ten minutes of frustrated scrubbing.
Finally, do not forget the surrounding materials. Glass may be tough, but the window frame, rubber gasket, painted wall, countertop, tint film, or decal beside it may not be. Keep your cloth controlled and wipe up any drips promptly.
If the residue is old, baked on, or still tacky
Old adhesive may need two or three rounds. That does not mean you need more force. Apply your chosen remover, wait, wipe away what has softened, then repeat on the remaining patch. Working in thin layers is cleaner and safer than flooding the area with product.
For a residue that feels hard rather than sticky, use warm water first if the item allows it. Gentle warmth can make dried adhesive more receptive to a remover. Do not apply high heat from a hair dryer to cold glass or glass near a seal, tint, or coating. Sudden temperature changes and concentrated heat are not worth the risk.
A clear pane, jar, or mirror should look like it was never labelled at all. Give the adhesive a chance to release, choose a cleaner that respects the surfaces around it, and let a clean final wipe provide the satisfying proof that the sticky job is truly finished.