A label comes off in seconds. The glue underneath can turn a clean jar, new appliance, picture frame, or storage bin into a sticky dust magnet. The question is not simply what removes label glue safely, but what will remove it without clouding plastic, stripping a finish, scratching glass, or filling the room with harsh solvent fumes.
The right answer depends on the surface and the adhesive. Some labels use mild water-based glue. Others use pressure-sensitive adhesive designed to stay put through shipping, moisture, and temperature changes. Start gently, test in a hidden spot, and only increase cleaning power when the residue calls for it.
What removes label glue safely on common surfaces?
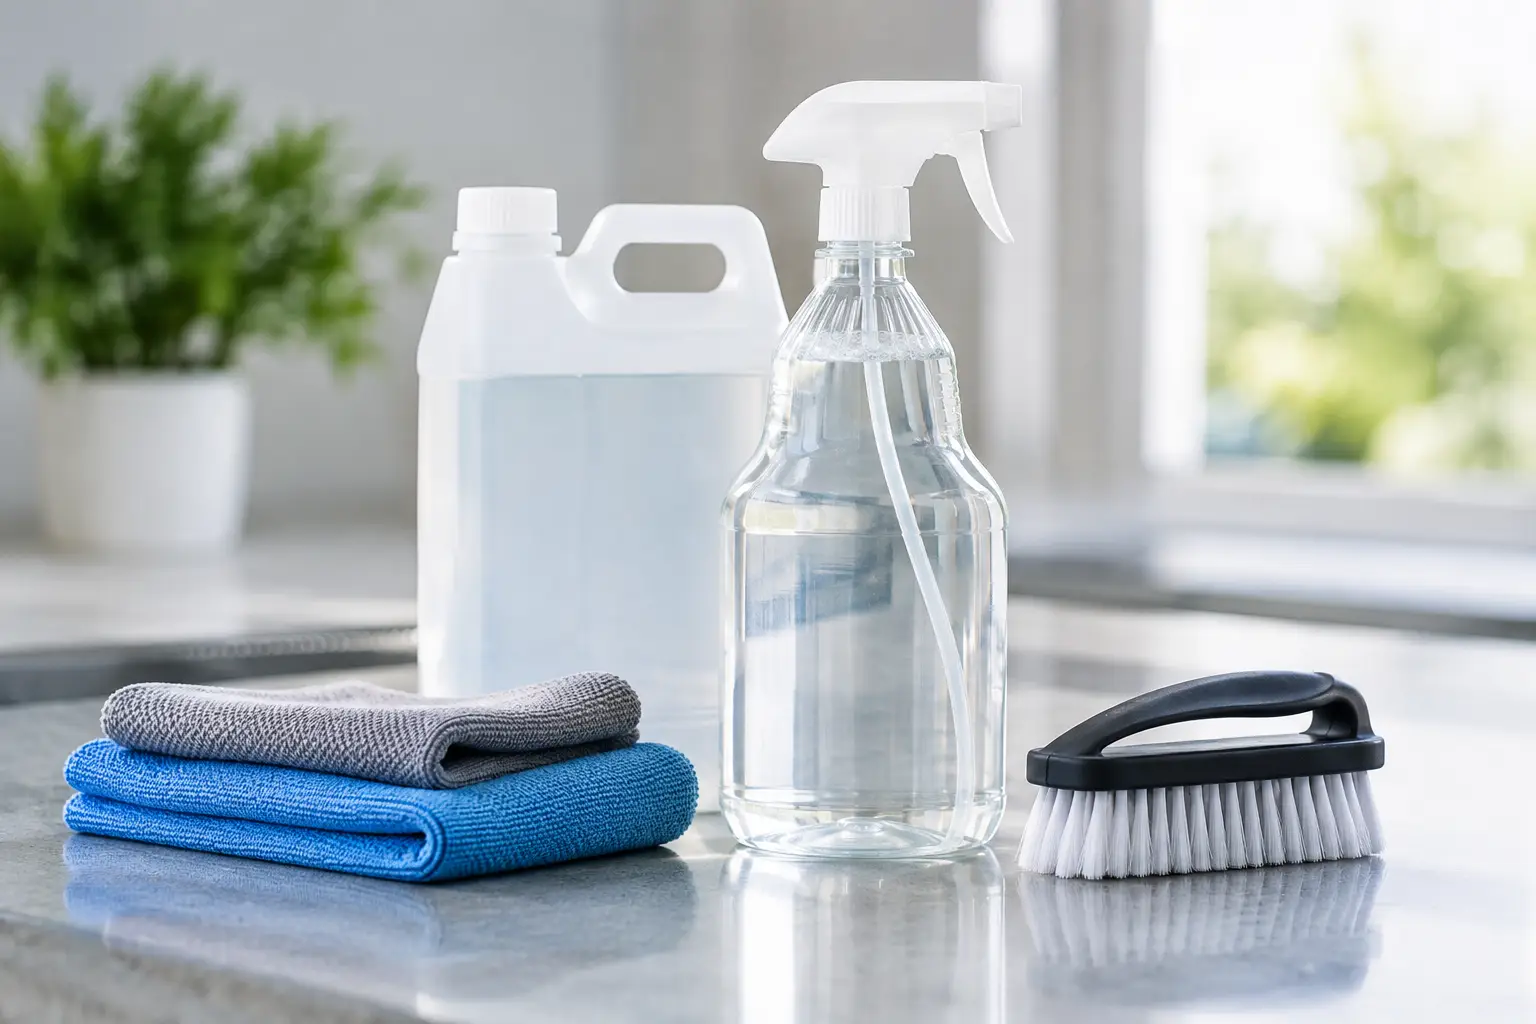
For most household labels, a purpose-made adhesive remover is the simplest, most reliable option. A safer formula made for sticky residue can soften the glue so it wipes away rather than needing aggressive scraping. BCM Biodegradable Solutions’ Tack Attack is designed for that exact kind of job, including labels, tape residue, decals, and stubborn adhesive messes, without relying on the strong petroleum-style solvent smell many people want out of their homes and workspaces.
If you do not have an adhesive remover on hand, warm water, dish soap, cooking oil, or isopropyl alcohol may help. Each has limits, though. Oil can leave its own greasy film, alcohol can dull or craze some plastics and finishes, and hot water is not suitable for every surface. The safest method is the least aggressive one that actually works.
Glass jars, windows, and mirrors
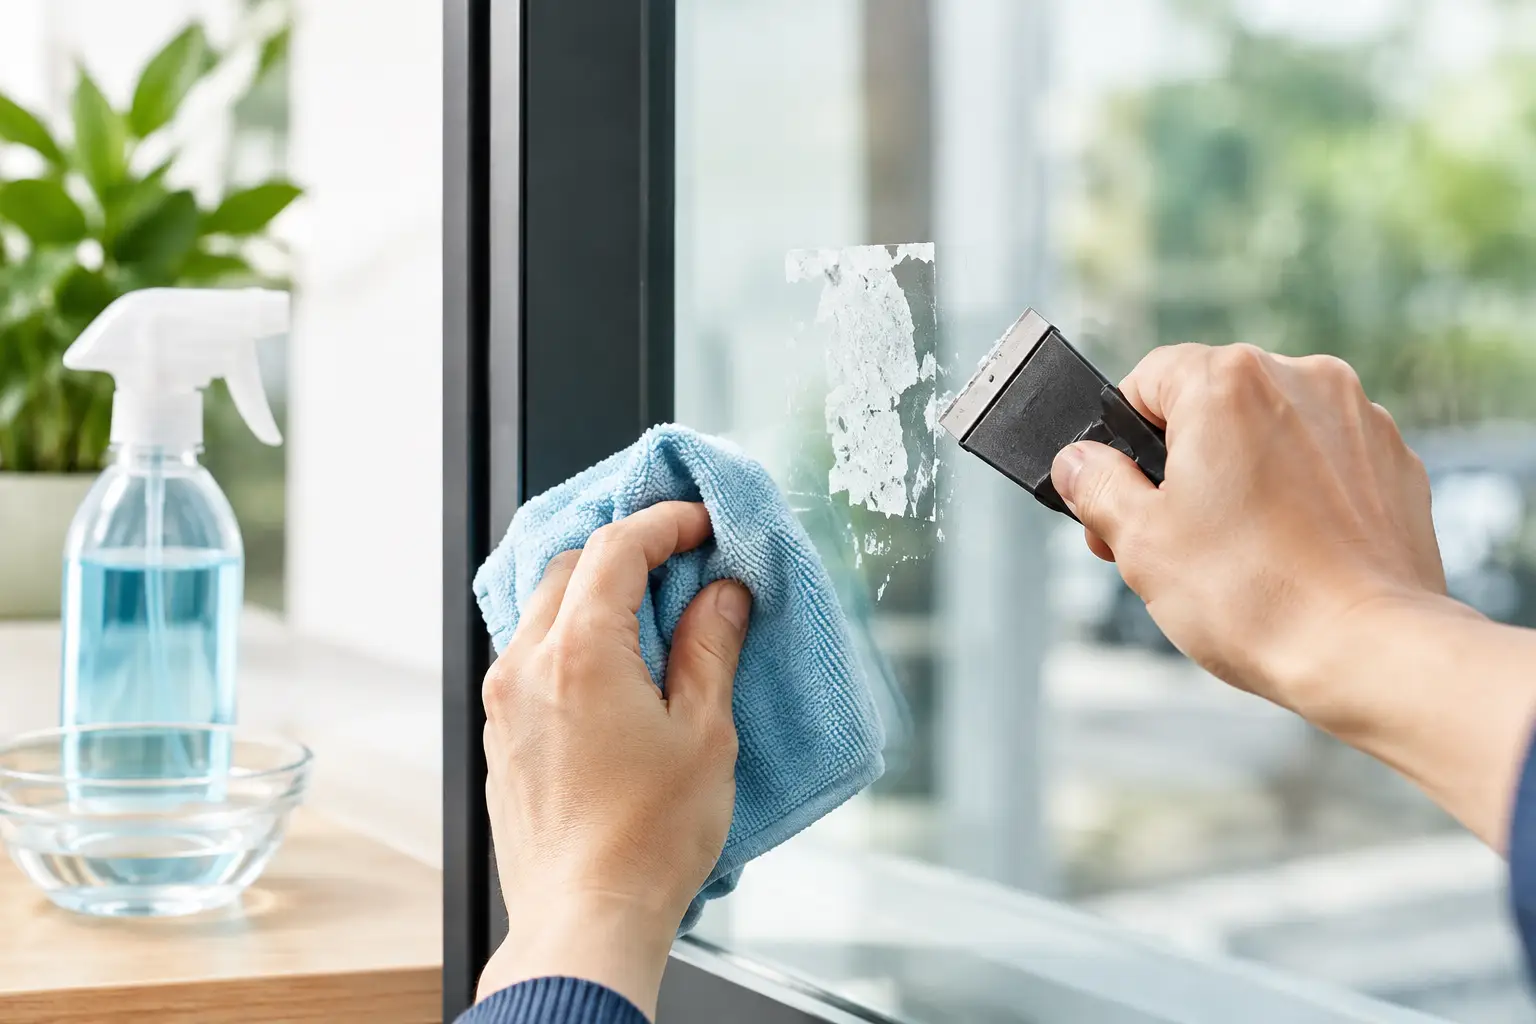
Glass is usually the most forgiving surface. Soak the label in warm, soapy water for 10 to 20 minutes if the item can be submerged. This loosens the paper layer and may release the adhesive at the same time. Peel slowly, keeping the label close to the glass rather than pulling straight upward.
For the gummy patch left behind, apply adhesive remover to a soft cloth, let it work briefly, then rub in small circles. Wipe the area with warm soapy water afterward and dry with a clean cloth. A plastic scraper or an old plastic card can help lift softened residue, but avoid metal blades on coated glass, mirrors, and decorative glass. A tiny scratch can be far more noticeable than the original label.
Plastic containers, appliances, and toys
Plastic needs more caution because different plastics react differently. A clear food container, a glossy appliance panel, and a soft vinyl toy may all look similar, yet respond very differently to heat and solvents. Do not assume that a cleaner safe on glass is automatically safe on plastic.
Begin with warm water and dish soap. If that does not shift the residue, use a small amount of adhesive remover on a cloth rather than pouring it directly onto the item. Test under the container, inside a lid, or in another inconspicuous area first. Let the product sit only as long as needed, then wipe and wash the surface.
Avoid high heat from a hair dryer on thin plastic. Heat can warp containers, loosen printed graphics, or make certain plastics feel tacky. Also avoid abrasive pads. They may remove the glue, but they can leave a permanently dull patch behind.
Painted metal and stainless steel
Labels on stainless refrigerators, water bottles, filing cabinets, and tools can be frustrating because residue tends to show in the light. Warm soapy water is a sensible first move. For more persistent glue, use a surface-appropriate adhesive remover with a soft microfiber cloth.
On brushed stainless steel, wipe with the direction of the grain. Rubbing across the grain can leave visible streaks or fine marks. On painted metal, test first and use light pressure. Older paint, powder coating, and printed logos deserve extra care, especially when the item has been stored in sun or extreme cold.
Finished wood and furniture
Wood is where patience pays off. Unfinished wood can absorb oil and cleaning products. Finished wood may have lacquer, varnish, wax, shellac, or a modern clear coat, and you may not know which one you are dealing with. Soaking is rarely a good idea.
Instead, dampen a soft cloth very lightly with warm, soapy water and hold it against the label for a short time. Work slowly at an edge with a fingernail or plastic card. If residue remains, test an adhesive remover in an unseen area first. Apply it to the cloth, not directly to the wood, and wipe away promptly. Follow with a clean, barely damp cloth and dry the surface.
If the wood has sentimental or high monetary value, stop before experimenting with stronger methods. A professional furniture restorer is less expensive than repairing a damaged finish.
A safer step-by-step way to remove label glue
The best technique is controlled, not forceful. Start by removing as much paper as possible. If the item tolerates water, soften the label with a warm soapy cloth or a short soak. Peel from a corner slowly. Fast pulling often tears the paper and leaves more adhesive behind.
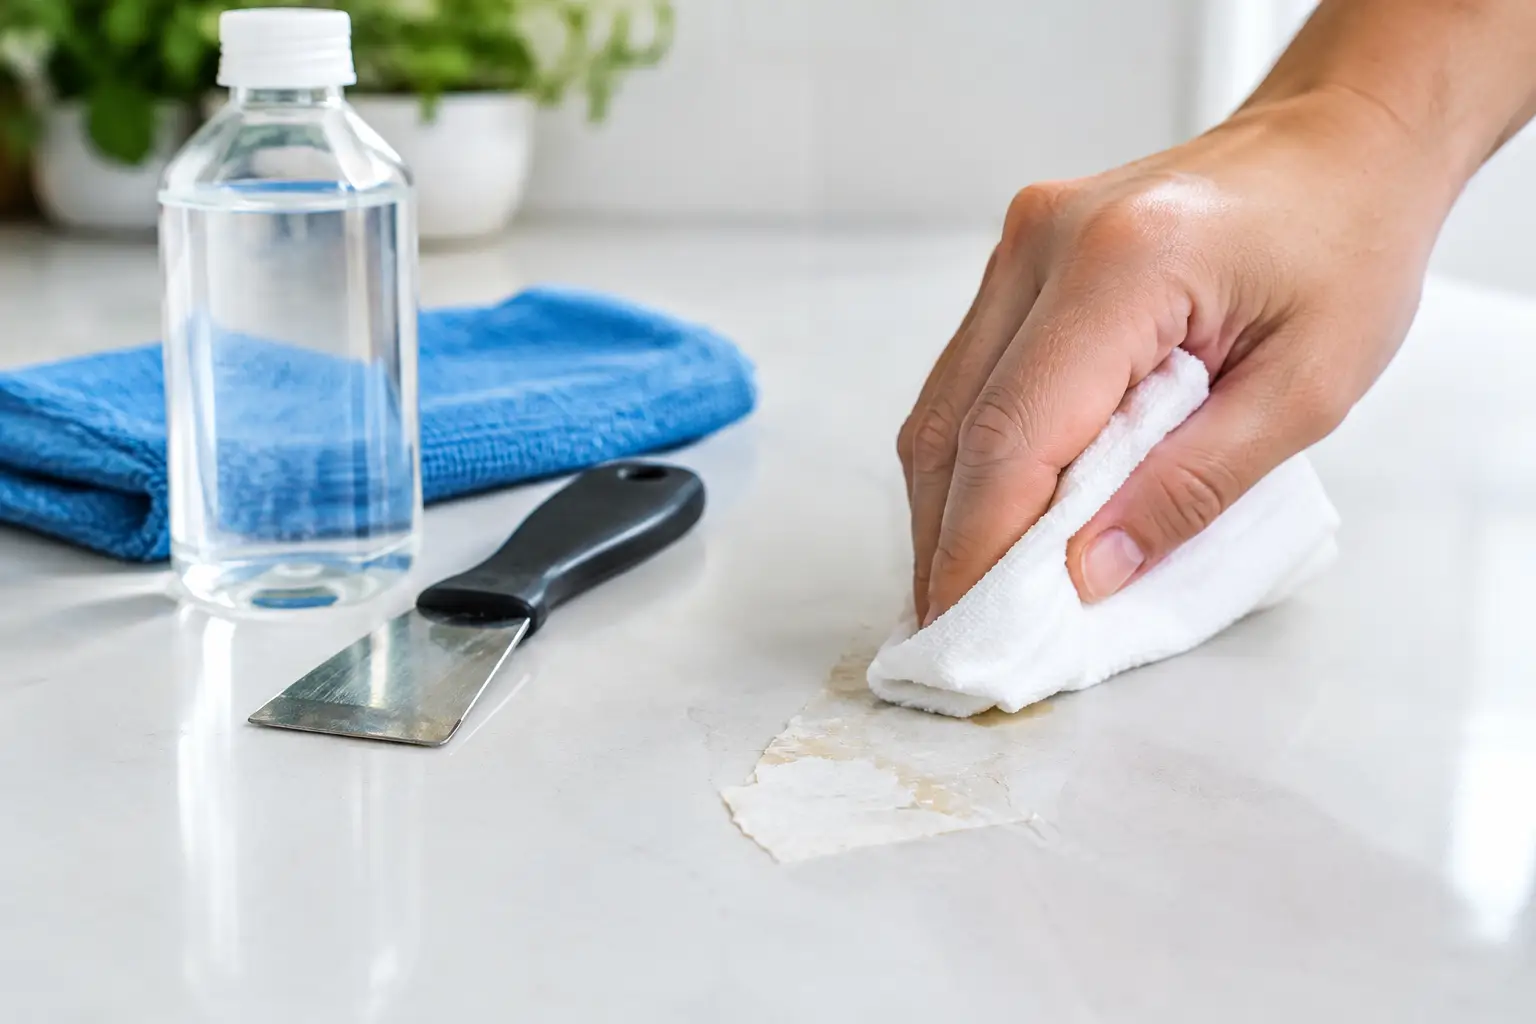
Next, place your chosen adhesive remover on a cloth or cotton pad. This gives you control and prevents excess product from running into seams, electronics, wood grain, or printed areas. Hold the dampened cloth on the glue briefly, then wipe with gentle pressure. Repeat if needed rather than scrubbing harder.
Once the glue is gone, clean the area with mild soap and water to remove any remaining cleaner or loosened adhesive. Dry thoroughly. That final wash matters on food containers, handled items, and surfaces that collect dust easily.
What to avoid when removing sticky label residue
A quick online tip can solve a simple jar label, but it can also create a bigger problem when used on the wrong material. Be wary of these common shortcuts:
- Metal razor blades can gouge plastic, scratch coated glass, and damage painted finishes.
- Strong solvent cleaners may produce overpowering fumes, affect coatings, and create unnecessary flammability concerns indoors.
- Abrasive powders and scouring pads often leave a haze or scratch pattern after the glue is gone.
- Undiluted oils can stain porous materials and leave a slick film that attracts dust.
- High heat can warp plastic, soften finishes, or make adhesive spread instead of releasing.
Natural does not automatically mean harmless, either. Citrus oils and essential oils can help dissolve some adhesives, but they can also affect certain plastics, painted finishes, and sensitive skin. A patch test is still the smart move.
When label glue will not budge
Old adhesive behaves differently from fresh residue. Sunlight, heat, and time can harden it into a stubborn yellowish film. Shipping labels can also use especially tenacious glue because they are made to survive warehouses, cold trucks, and wet weather.
In these cases, use several short applications instead of one long soak. Let the remover soften the top layer, wipe it away, and repeat. A plastic scraper can help between applications. This gradual approach protects the surface and usually works better than pressing harder with a rough cloth.
For curved bottles, textured plastic, or tiny grooves around handles and hardware, use a soft toothbrush after the adhesive has been softened. Keep the brushing gentle. The goal is to lift residue out of texture, not scour the surface.
The cleanest result comes from matching the method
A label should not require a harsh-smelling, high-drama cleanup. Match the method to the material, test first, and give the adhesive a little time to release. A good adhesive remover and a soft cloth will handle most jobs cleanly, leaving the surface ready to use rather than covered in glue, scratches, or a new cleaning problem.